|
Creating the
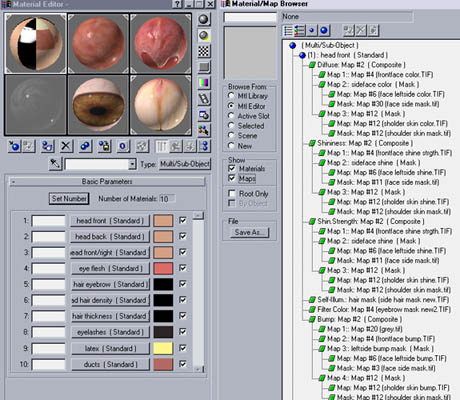
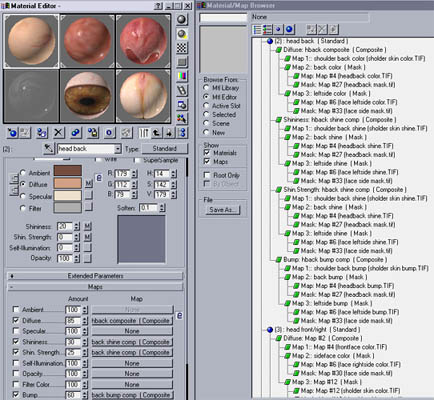
actual materials was a process of assigning and layering the texture maps. The main material for the head is
a Multi-Sub Object material that consists of 7 sub materials (1-4 used
for the flesh, the rest for the hair plugin parameters). This was later increased
to 10 after attaching things like eyelashes and tear ducts to the head
mesh. Composite maps were used to layer the texture maps together using
Mask maps. Since the setup of the material mapping is rather involved, a few screenshots are provided to help make sense of it all.

The same map was used in each
materials Shininess and Shin-strength slots, but at different amounts, creating a variation in the strength of the highlights, and making the size of the highlights change. This was very important
in getting a proper skin sheen.

The eyes, teeth and
gums were all created by hand in 3ds max. (Note: if you can cast the teeth, these can also be digitized using splines and patches, as do anthropologists, dentists, and digital content production houses).
Also, the individual eyelashes and nose
hairs were modeled and attached to the main head mesh. The teeth were made from editing box primitives.
Eyebrows and hair details were created using a hair creation plugin.
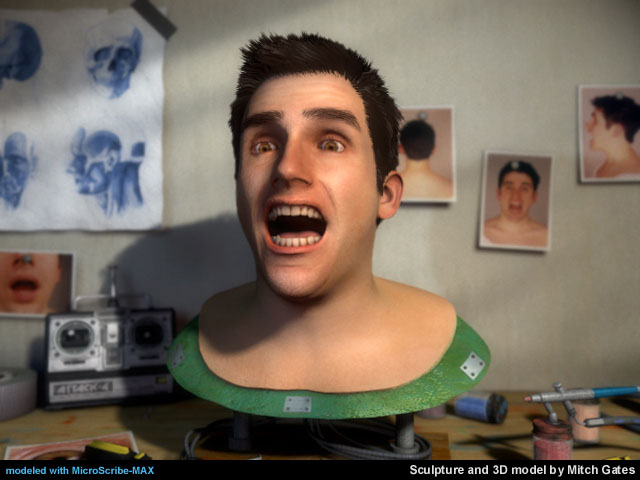
Here is a look at the finished result.

Here's another look at the digitized object and resulting mesh:
 
--
For more information about digitizing 3D objects, contact:
G3D Systems Technical Representative
|


 MicroScribe 3D Digitizers
 FaroArm OEM Partner/Distributor


